

Funny story, this lamp. I had no intention of making a lamp from scratch and I even told myself I was not going to make one.
About one and one-half months ago, I ordered two DIY lamp kits online. The lamps looked easy to assemble and there were slots for already cut art paper. Initially, I took issue with the shipping fee because I thought it was too high for the weight of the lamps and the delivery method. I pondered over the fee, eventually deciding to order the lamps.
When the lamps arrived, I could see that they were not what I ordered. There was only a choice between two types. It was hard for me to believe I was sent the wrong one. I have been buying online for several years and this was the first time I was sent the wrong item. I checked my shipping invoice. The mistake was not mine, but I did make a mistake at that point. I did not take a photograph. It crossed my mind, but I told myself that it wasn’t necessary.
 I paid postage to return the lamps the next day. When the items were received I asked for a refund of the postage as the mistake was not mine. After some haggling I was told postage would not be refunded because the company said I was sent the correct items and returned them. I never! Really, never! I couldn’t believe it. No photo, no proof. Never again.
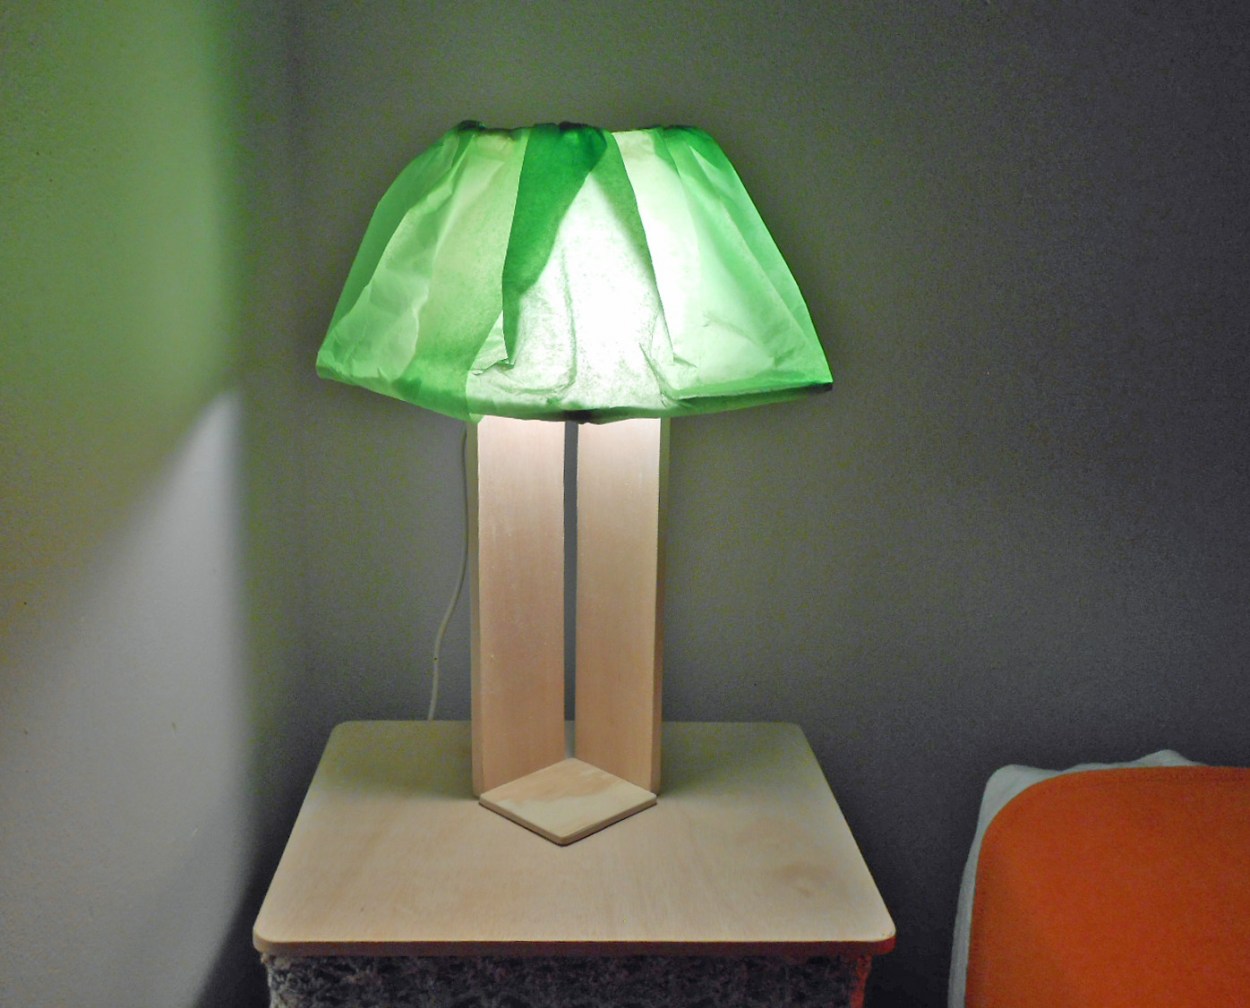
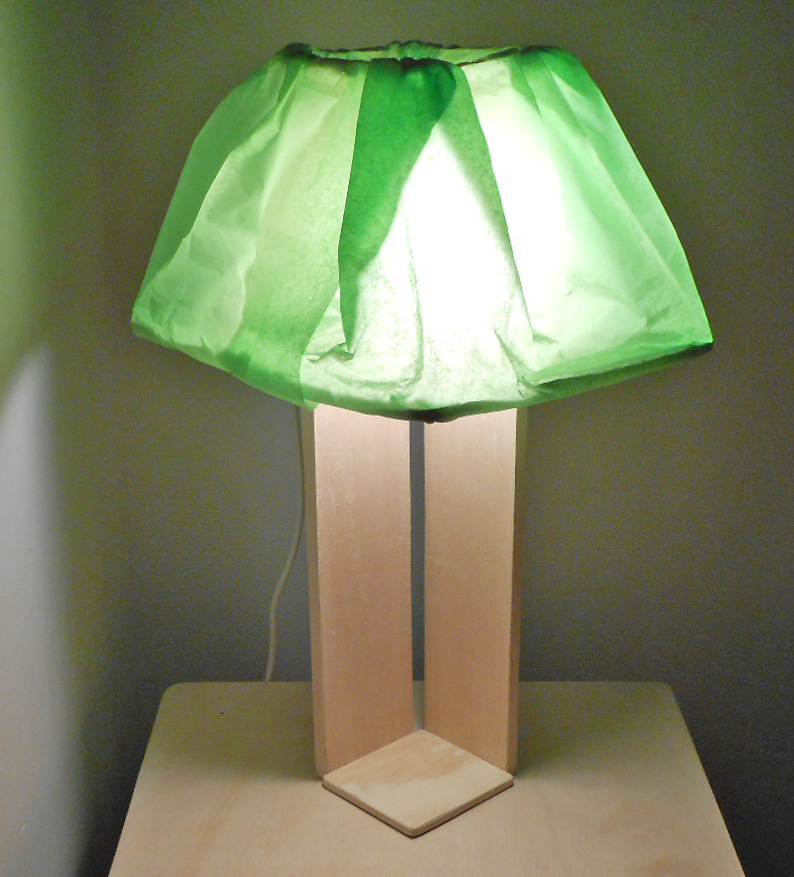
I ordered paper with the lamps and I still had it. I used it first on the lamp (see the photo to the left), but removed it after awhile since I didn’t have enough to cover the full shade. I definitely was not going to order anything again from that company. I used green tissue paper I had lying around. I will replace it when I find art paper I like.
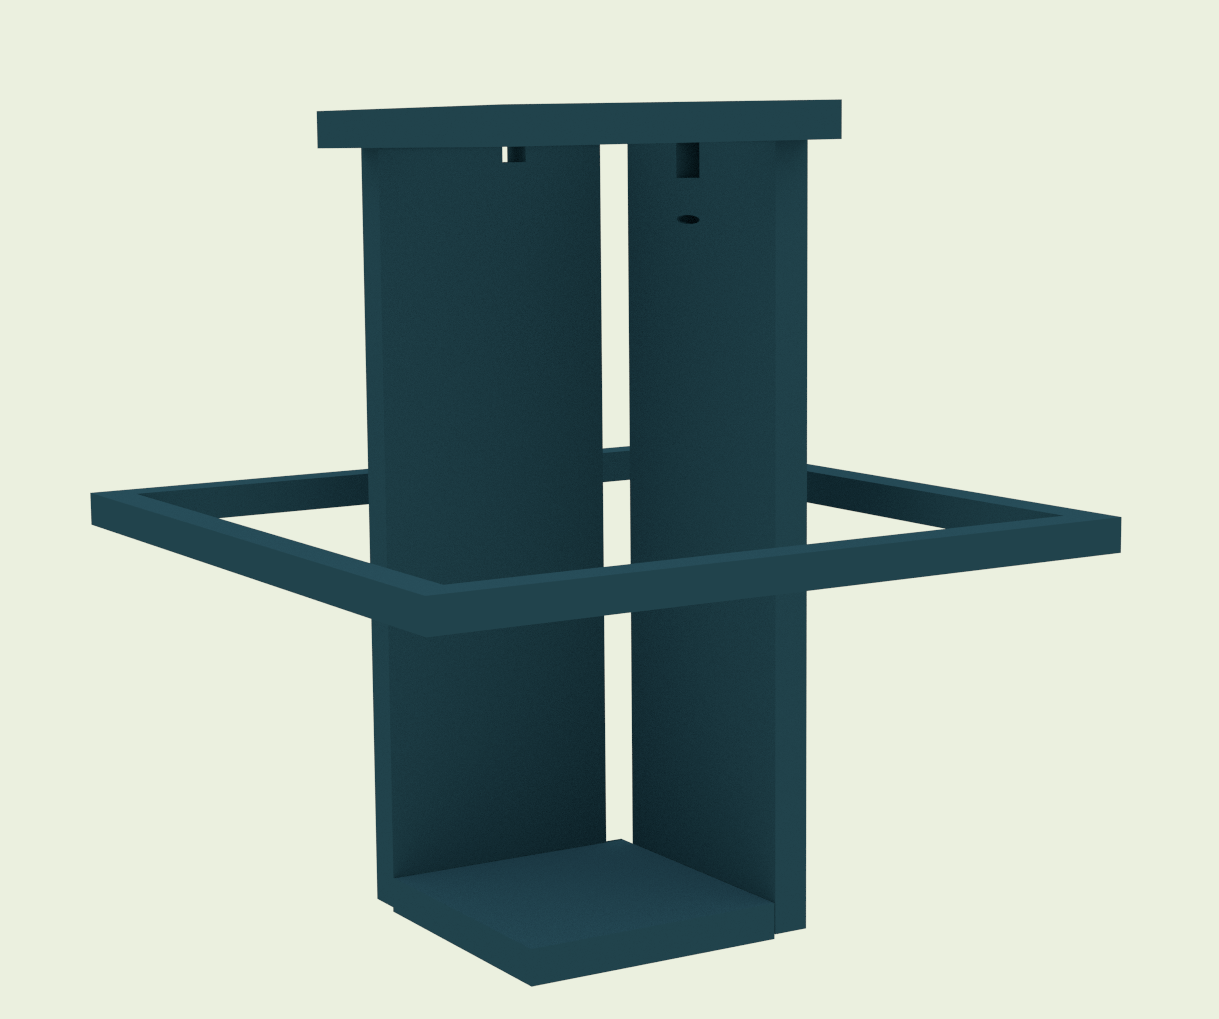
I designed the lamp in Tinkercad and made a photograph of it in Blender. I wanted to make wood connectors for the shade that look like an elongated s-hook. It was difficult for me to design one in Tinkercad, so I decided to just get’er done. I had wire in my jewelry making supplies and felt it was a suitable substitute. It would have taken forever to make those wood s-hooks anyway. Maybe one day.
| What is Needed: | |
| Scrap plywood | 3 1/2″ x 20″ – 1/2″ plywood (2 pieces) 5″ x 5″ – 1/4″ plywood 10″ x 10″ – 1/4″ plywood 4″ x 4″ – 1/4″ plywood |
| Wire | 16 Guage Dead Soft 26 Guage |
| Tools | Saw Jigsaw Drill – 1/16 inch bit and 1/8 inch bit Screwdriver or hammer |
Miscellaneous Items Needed:
Wood Veneer
1″ Nails or screws
Sandpaper
Pendant light
1. I used wood leftover from the DIY nightstand/table project.
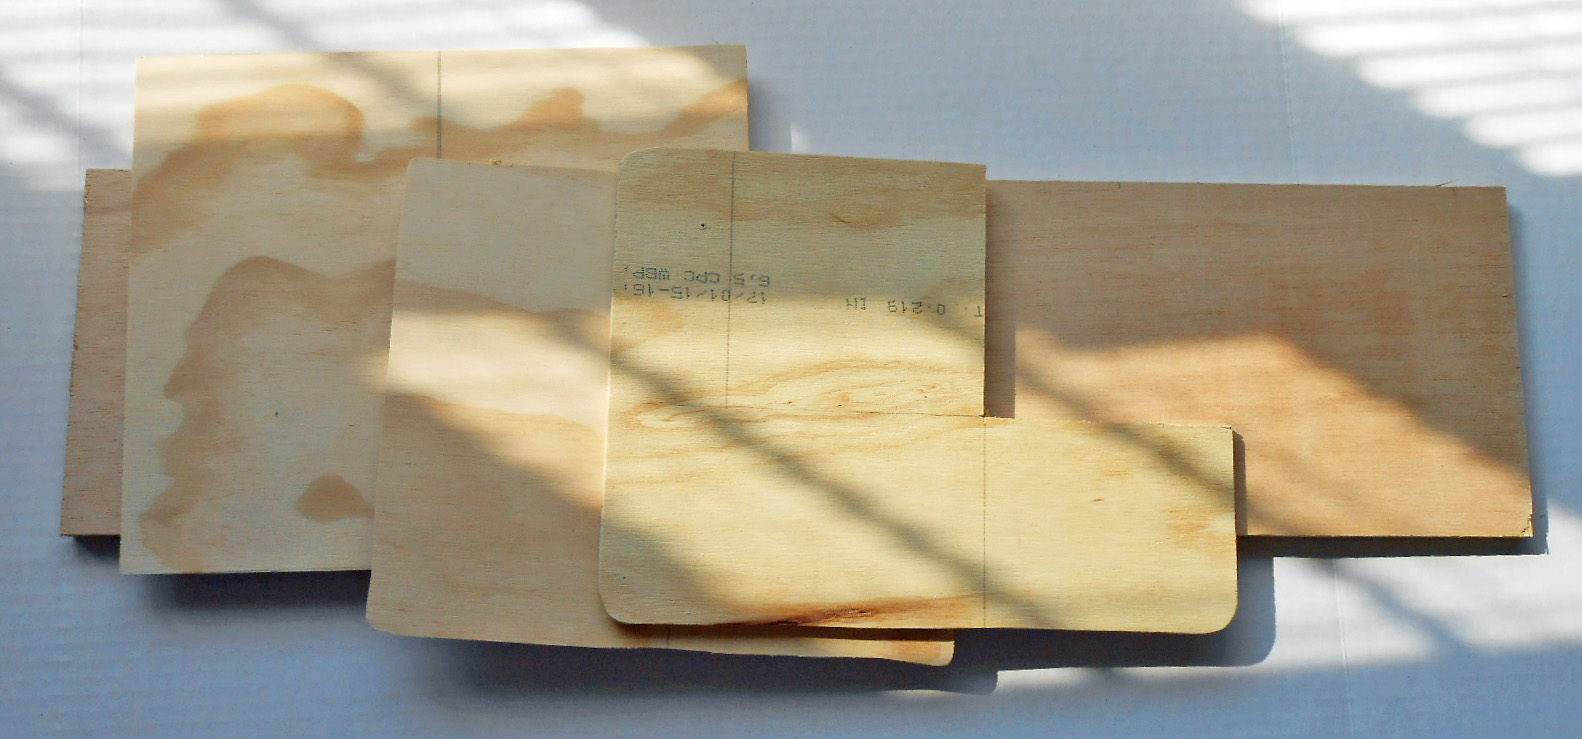
2. Cut wood:
3 1/2″ x 20″ – 1/2″ plywood (2 pieces)
5″ x 5″ – 1/4″ plywood
10″ x 10″ – 1/4″ plywood
4″ x 4″ – 1/4″ plywood

3. Sand corners using coarse sandpaper. Who needs arrow ch’i?
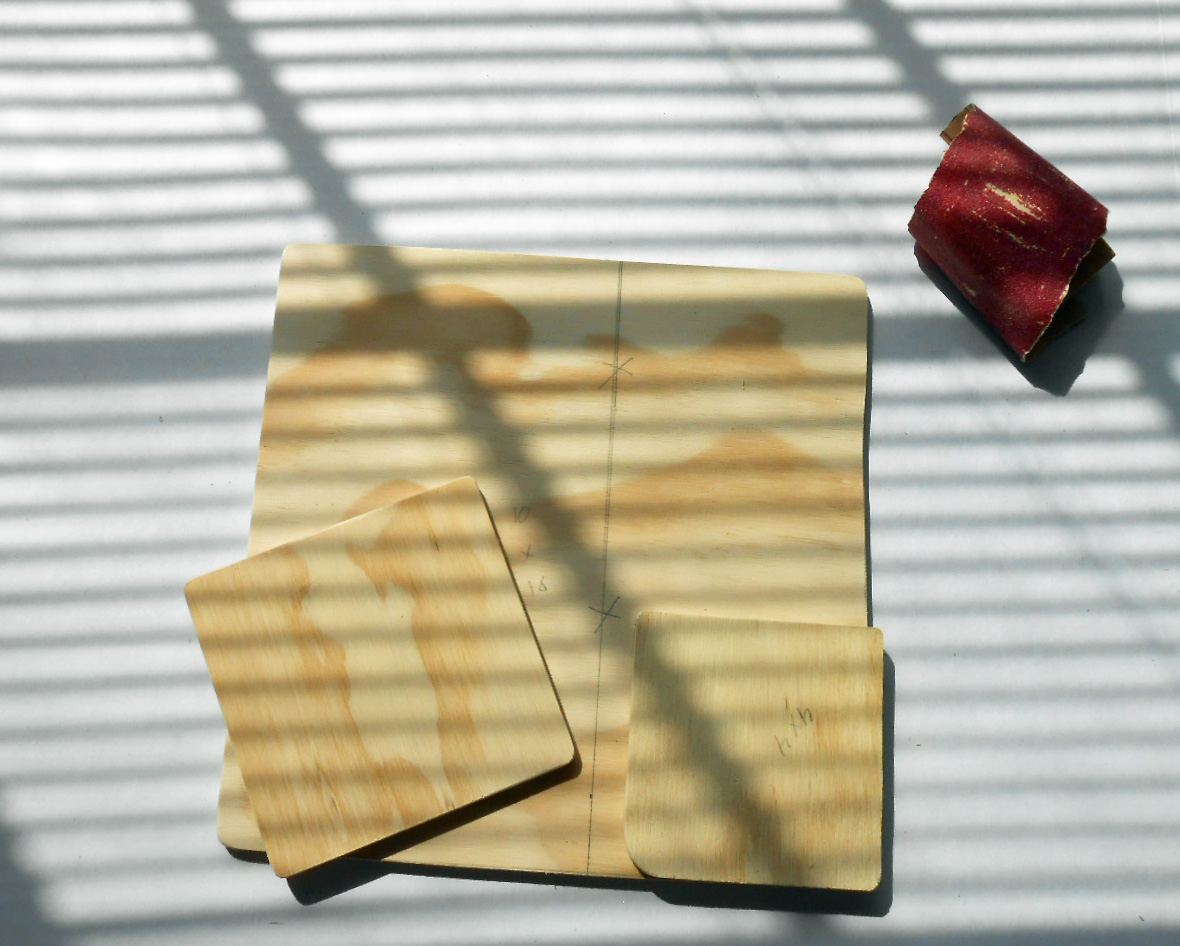
4. Mark 1/2″ circumference on edges of 5″ x 5″ and 10″ x 10″ pieces. Use drill with 1/8″ bit to make a starter hole. Use jigsaw to cut piece around.

5. Drill 1/16″ holes in corners of cut 5″ x 5″ and 10″ x 10″ pieces. Make holes closer to inner ring than outer ring.
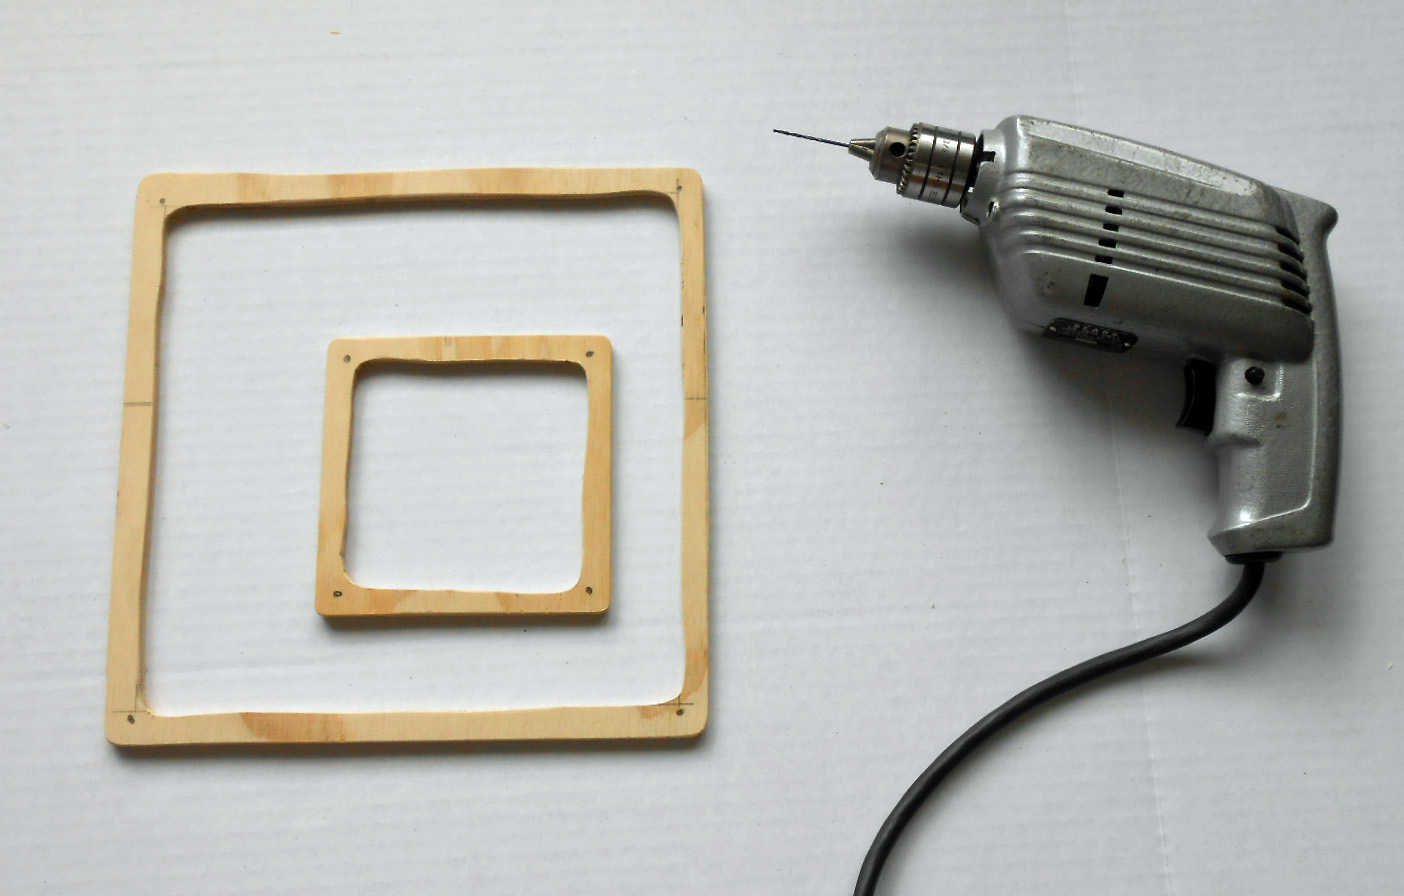
6. Cut a 3/8″ slot (or slot wide enough to fit light cord) 3/4″ down from the top of one board (left board), in the center of the board. Cut a 1/4″ slot 1/2″ down from the top on the other board (right board), in the center of the board. Drill a 1/8″ hole 1 1/2″ from top of right board, below slot.
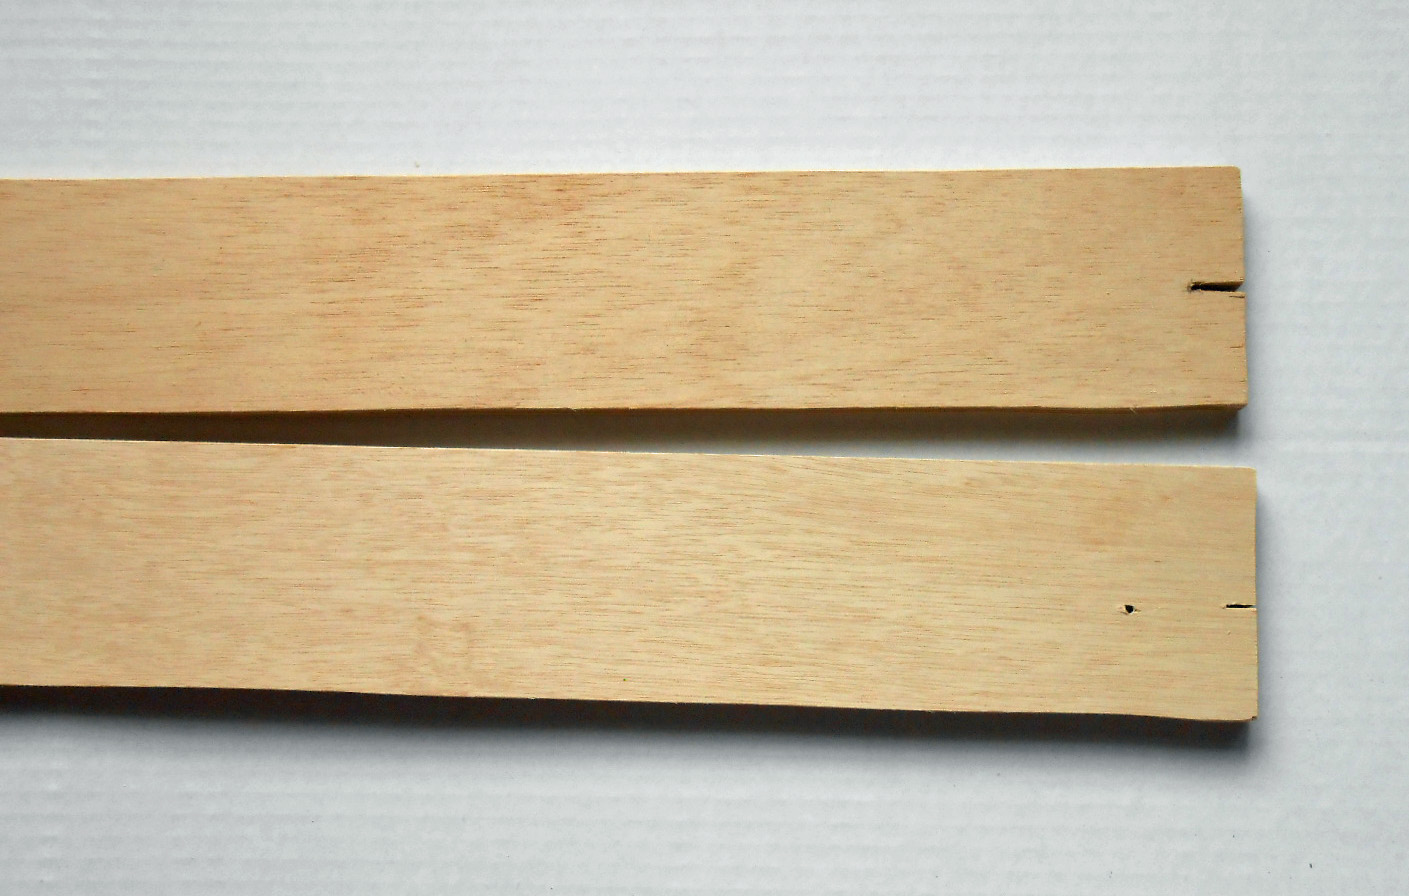
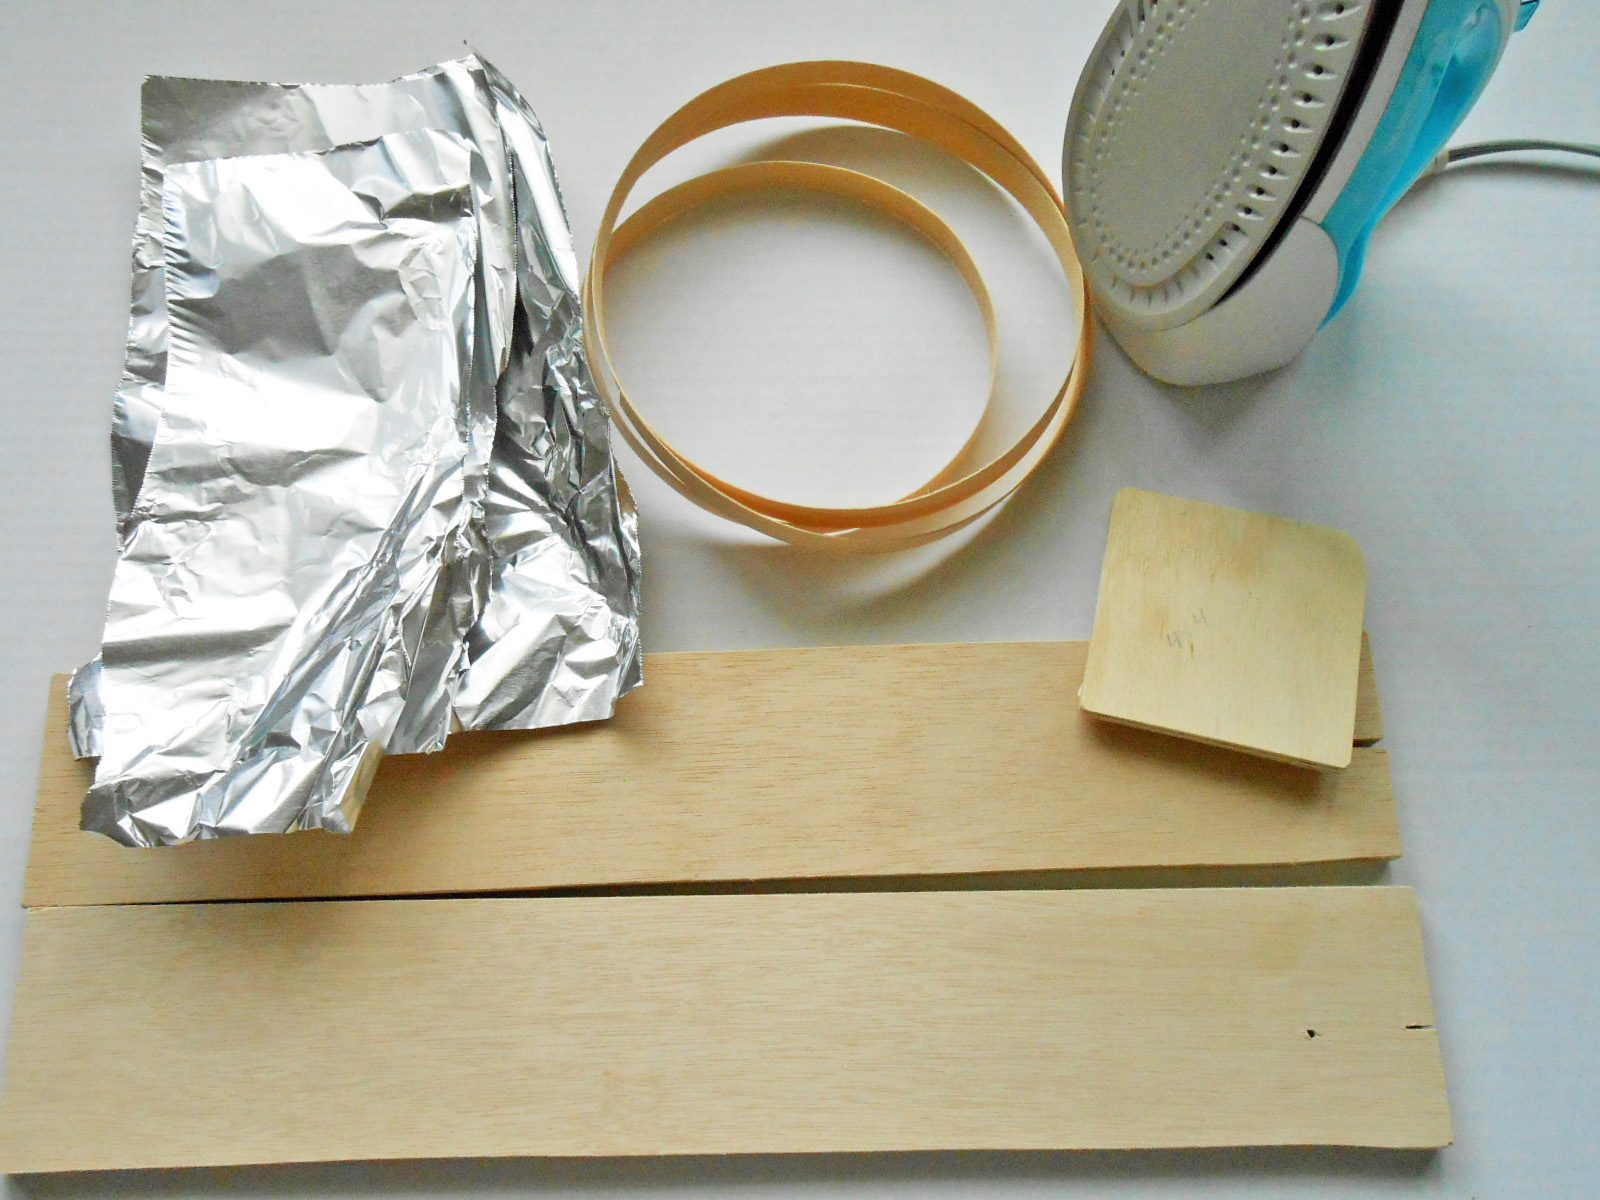
7. Iron veneer onto the 2 long sides of the 3 1/2″ x 20″ and 2 sides of the 4″ x 4″ pieces. Trim and sand.
8. Assembly: Nail or screw the 3 1/2″ x 20″ pieces to the 4″ x 4″ piece, 3/8″ away from the corner. Place the pendant light in the slot on the left board. Nail or screw the 3 1/2″ x 20″ pieces to the 5″ x 5″ piece, 3/8″ away from the corner. Use 16 guage dead soft wire to set the pendant light as shown in the photo below. Use 26 guage wire to hang the 10″ x 10″ piece below the 5″ x 5″ piece (lamp shade).

9. Use any lightweight item/s you like to make the lamp shade. Finished.

One thought on “DIY Plywood Lamp”